|
|
|
|
|
| The
photos below show a batch of bread dough in which I added
too much water. Or, you could say I didn't grind enough grain. This is to show you that even when you don't make bread
"properly", it will still be wonderful. Adding too much or too little water changes the texture, but not the flavor. A bakery has to be consistent or the customers become upset, but when you are making bread for yourself, you don't have to worry about perfection. |
| I begin by putting water and yeast into a glass bowl, and putting
that bowl on top of a pan of warm water. If
I am in an extreme rush, I'll put in a tiny bit
of sugar to get the yeast growing. Otherwise I just let the yeast start
to dissolve, and I measure enough grains for a piece of bread, and then
I start grinding the grains. However, I grind only a small amount, turn off the grinder, and then add that small amount of flour into the water so that the yeast have some food. I usually also add a spoonful of gluten to compensate for the buckwheat and other grains. If I am adding oats, I usually roll them at this time and put them into the water, also. | 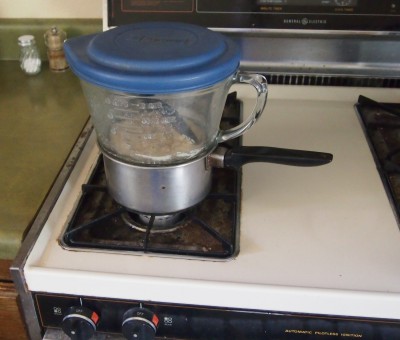 |
|
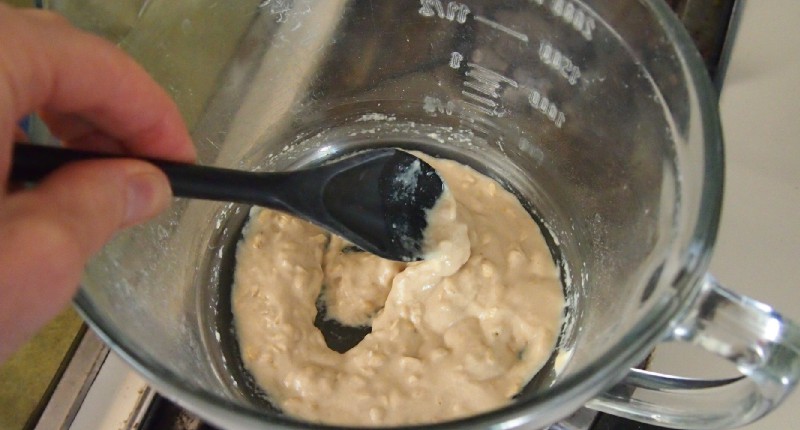
Yeast grows very quickly when it is in warm water. The photo below
shows the watery, yeast mixture. I stir it with a thick plastic
spoon. The lumps in the dough are the rolled oats. |
| I
give the yeast 5 to 10 minutes to grow, depending on how much of a rush I am in. During
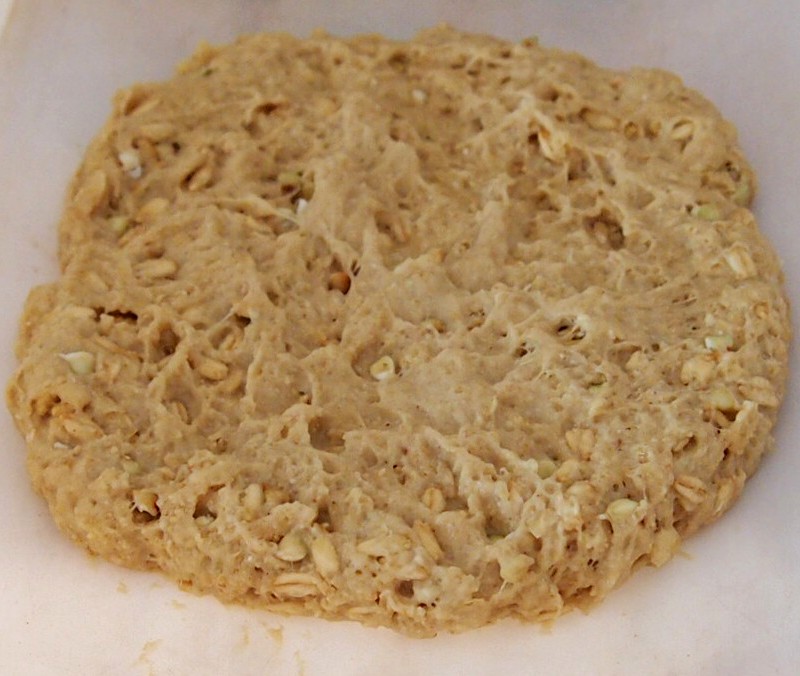
those 5 to 10 minutes, I do whatever other chores I need to do. A restaurant could reduce the time to make bread by maintaining a watery yeast mixture, similar to how medieval bakers would maintain a yeast culture. That would eliminate this initial, time-consuming step of putting yeast into water and letting it rise. Then I resume grinding the grains. This batch of bread was made by grinding some hard white winter wheat (it has a more mild flavor than the red wheat), kamut, buckwheat, and some freshly rolled oats. It takes only a few minutes to grind the grain and clean the grinder. When the grinding is finished, I stir the flour into the watery dough mixture with the plastic spoon. I do not waste any time kneading the dough. Instead, I put the dough onto a sheet of Teflon. Since this particular batch of dough had too much water, it was a bit sticky, so I had to spread it on the Teflon sheet rather than press it onto the sheet. The stickiness caused peaks to form, as you can see in the photo below. |
| I
then put the sheet of Teflon into the toaster oven, turn on the oven
for a bit to warm it up, and let the dough sit there in the warm oven
for about two minutes to rise. In addition to making the bread more
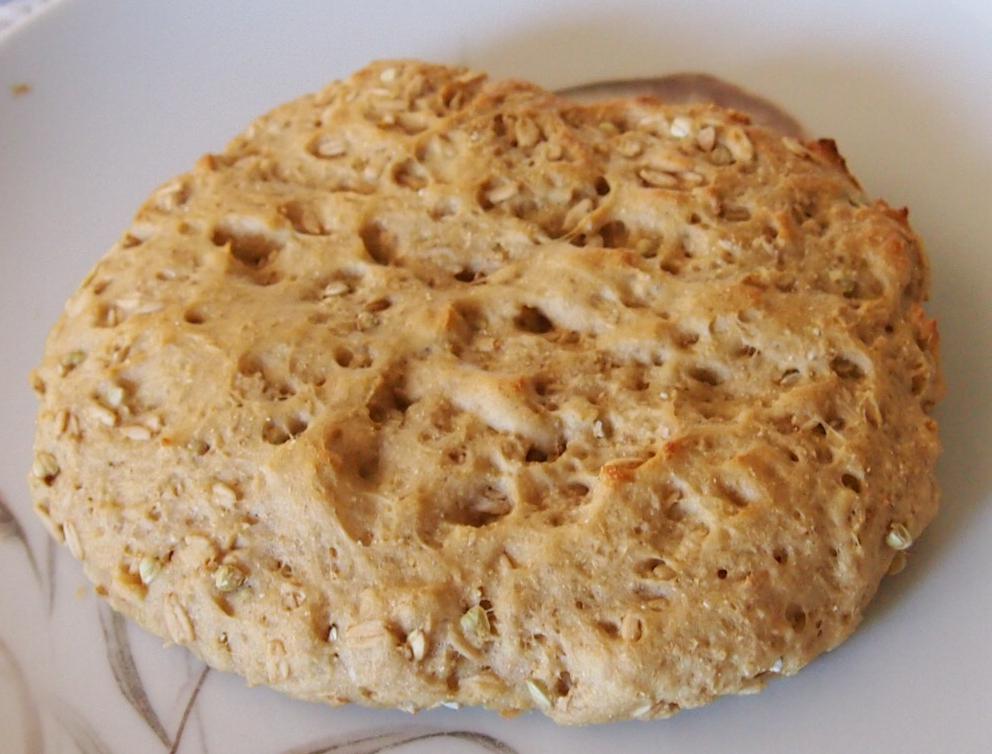
bubbly, it also causes the jagged peaks to become smooth. While that dough is rising in the toaster oven, I put two eggs into the pan of warm water – the same pan that was used to keep the yeast mixture warm. The purpose is to create gelled eggs, as I described in my video here. After the dough has risen for about two minutes, I turn the heat on under the pan of hot water to start cooking the eggs. When that water has reached about 51° C, I turn on the toaster oven. While that pan of water was rising to 51°C, the dough was continuing to rise. With the toaster oven I now have, it takes only 10 minutes to cook the bread. The oven is set to 350° to 400° degrees. It is an analog dial so I don't know exactly what the temperature is. When the water in the pan becomes 71° C, I turn off the heat and let the eggs sit in hot water. Meanwhile, the bread is continuing to bake in the oven. The photo below shows the bread after it has finished cooking for 10 minutes. Since the bread is thin, I don't have to wait for it to cool down. I take it out of the oven and immediately cut it in half with a plastic knife. |
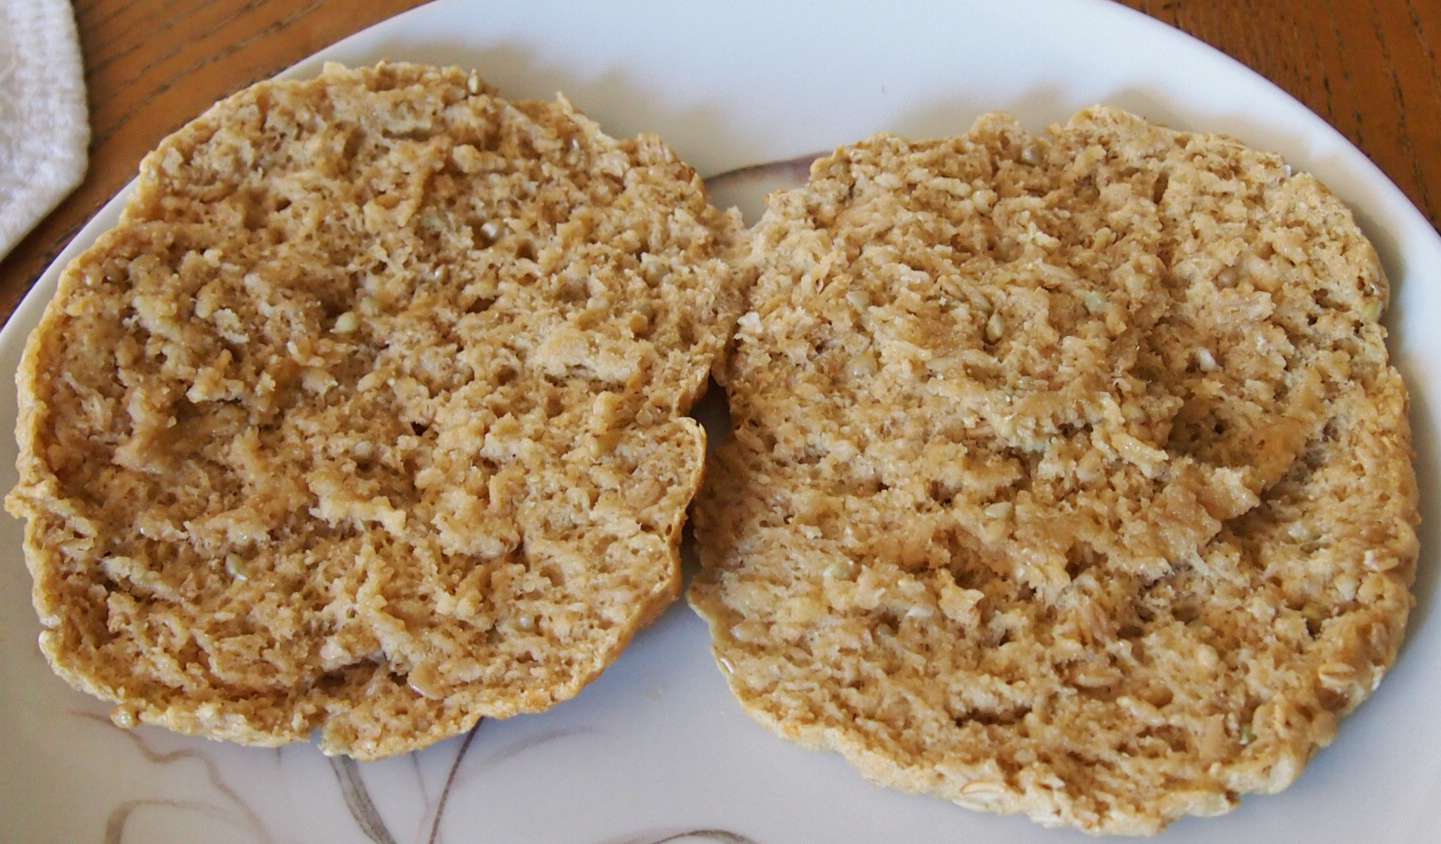
| The
photo below shows that bread after I sliced it in half. Next I take the
eggs out of the hot water and crack one on each slice. I usually
also spread a bit of olive oil or coconut oil
on a portion of the bread for additional variety and flavor. Making bread in this manner is so simple and so quick that I need only 30 to 45 minutes from the time I walk into the kitchen to begin the process to the time I am sitting at the table and eating the bread and eggs. Furthermore, there is almost no mess to clean up when I cook the eggs in this manner, and because I do not knead the dough. This process is so simple that robots could be doing it for us. |
| Some
people make whole-grain bread from flour that they purchased at a
market, but how fresh is that flour? Using my technique, and by
maintaining a live yeast mixture to reduce the time even further, we
could eat
bread that was made from grain that was ground only a few minutes
earlier.
This should significantly reduce the deterioration of oil and other
nutrients in the grains. Furthermore, I think the flavor of bread that was made from freshly ground grains is superior to that made from commercial flour. |
